Easily replace a toilet seat using our simple, step-by-step guide. Here we explain how to replace a soft close toilet seat with ease!
What tools do I need to replace a toilet seat?
Step 1. Ensure you’re fitting the correct toilet seat
Step 2. How do I remove a toilet seat?
Step 3. Fitting a new toilet seat
Fitting a Toilet Seat
Whether you’re replacing an old worn / broken toilet seat with a brand spanking new one or simply fitting a toilet seat on your new toilet then this easy to follow FOHOME step-by-step guide will show you how.
We don’t make replacing a toilet seat easy, it just is easy!
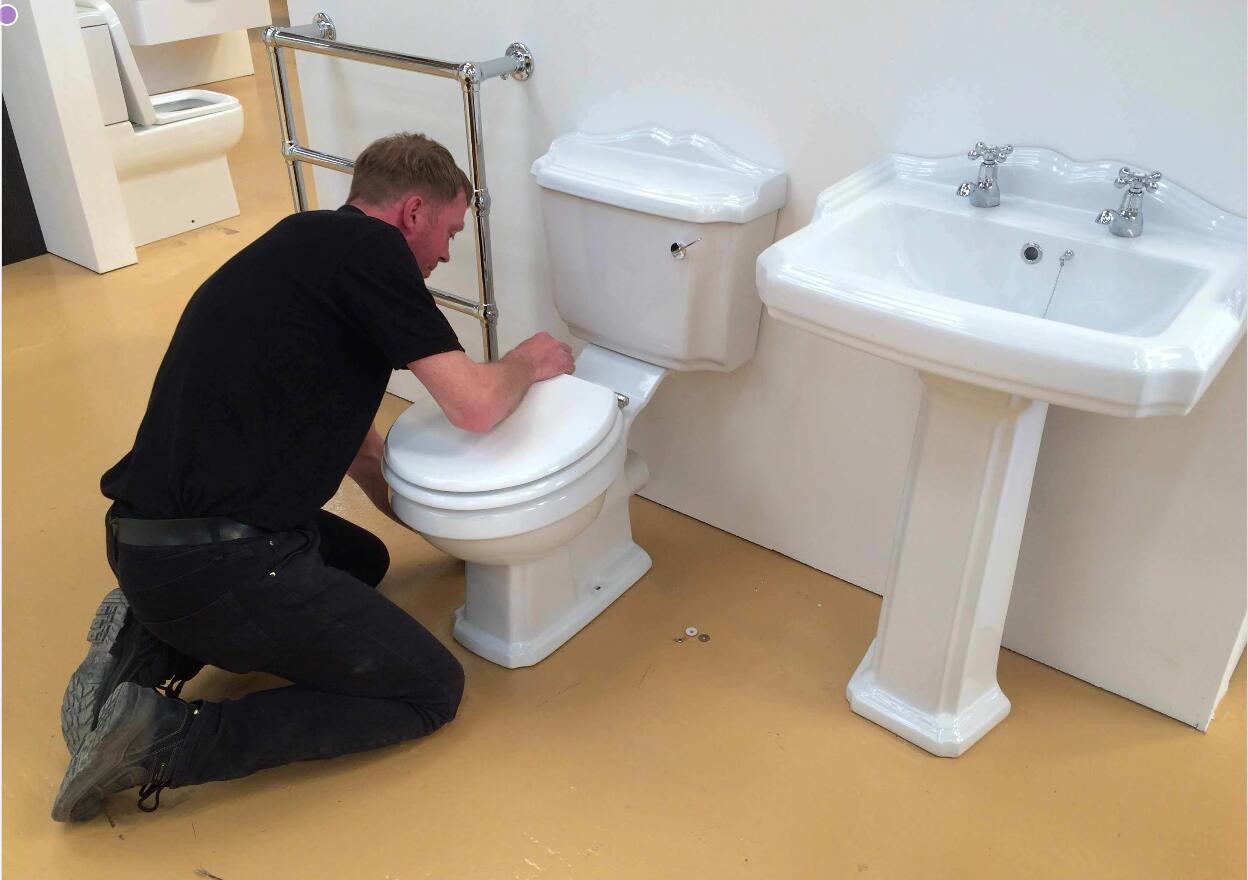
The other day, we received a question from a customer asking how to replace a toilet seat in her new ensuite bathroom. This got us thinking… how hard can it be to fit a toilet seat? So we decided to put together a simple guide on how to fit a seat to a toilet for her and others.
We asked our expert fitters in our bathroom showroom for a simple demonstration fit for anyone!
This guide explains the removal and fitting process of toilet seats for most makes and models including D-shape, square and standard toilet seats but in our example we’ve chosen a popular soft close toilet seat.
What tools do I need to replace a toilet seat?
In order to replace or fit a toilet seat you’ll need a handful of tools but don’t worry, most people will have these available in the home or garden shed. Some new toilet seats will come with the tools required to fit a toilet seat and all the fittings necessary but sometimes, you may need some bits and pieces yourself.
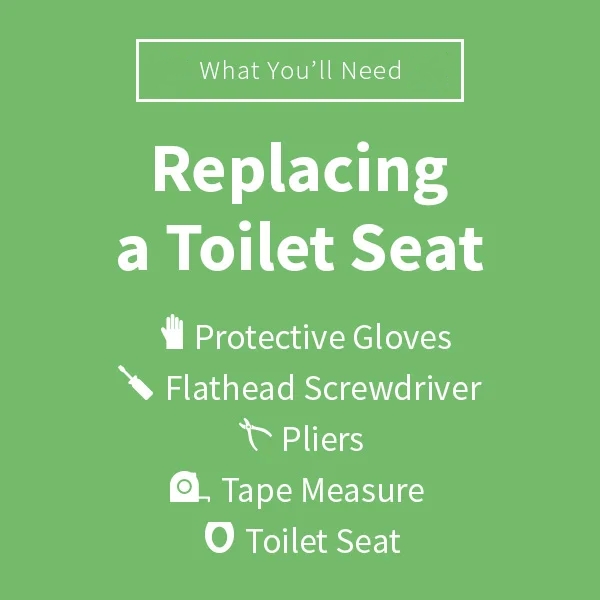
What you’ll need: Tools
Before we begin it’s always a good idea to put on protective gloves and clean the toilet before you work around it. Treat this like Step 0 if you like!
Step 1. How to Measure a Toilet Seat
If you don’t need to buy a toilet seat and you have already measured up and purchased one then you can skip this step and go straight to step 2.
Before you remove the old toilet seat, check the measurements of your toilet and ensure you have the correct toilet seat to replace the old one with. Put on your protective gloves (if you haven’t already done so) and grab your tape measure.
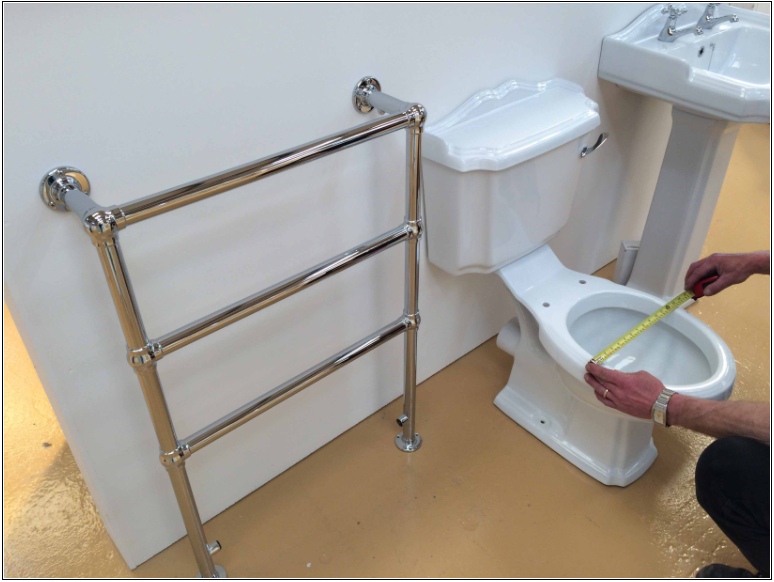
Either measure the width, or measure both width and length for the size
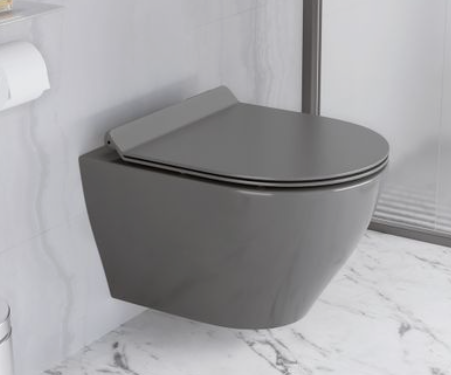
Toilets come in a variety of shapes and sizes so use your tape measure to get the correct size and shape seat for your loo. Measure your existing toilet seat for the correct measurements or, if you’re measuring a new toilet with no seat, measure the length from the middle of the fitting holes to the centre of the front of your toilet bowl. Then measure the width from the widest point across.
Once you have the sizes jotted down it’s time to choose a toilet seat that fits these measurements, your budget and your style.
Take a look at a previous guide for further help choosing the right toilet seat.
Step 2. How to Remove a Toilet Seat
Most toilet seats are attached to the toilet with fittings held together by two bolts, which are usually hidden by 2 plastic caps at the back of the loo seat itself.
Use your flat head screwdriver to remove these protective caps (this may be harder for older seats which have sat there for some time). Gently work your way around the cap with the screwdriver head to carefully remove it.
Once you have taken off the cap, you’ll see the top of the bolts which are holding your seat in place. Underneath the toilet you will notice the bolts sticking out which will be held firm by two nuts / wingnuts. Use your pliers to keep the nuts in place and unscrew the bolts with your screwdriver.
Some toilet seats will be held in place using a slightly different fitting but they generally all work in the same way. If yours is different, take a look around the fittings and you should be able to work out how to detach it.
Step 3. Fitting a New Toilet Seat
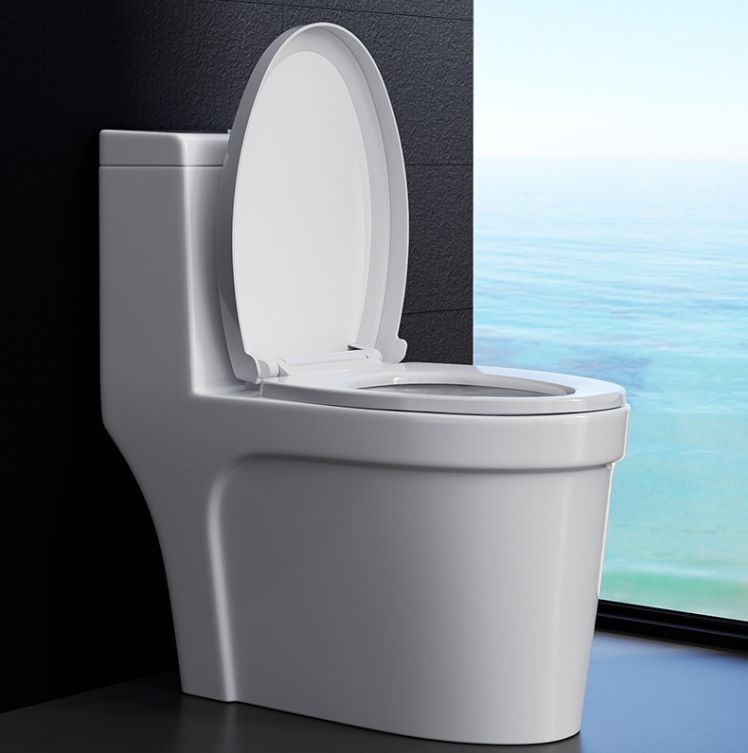
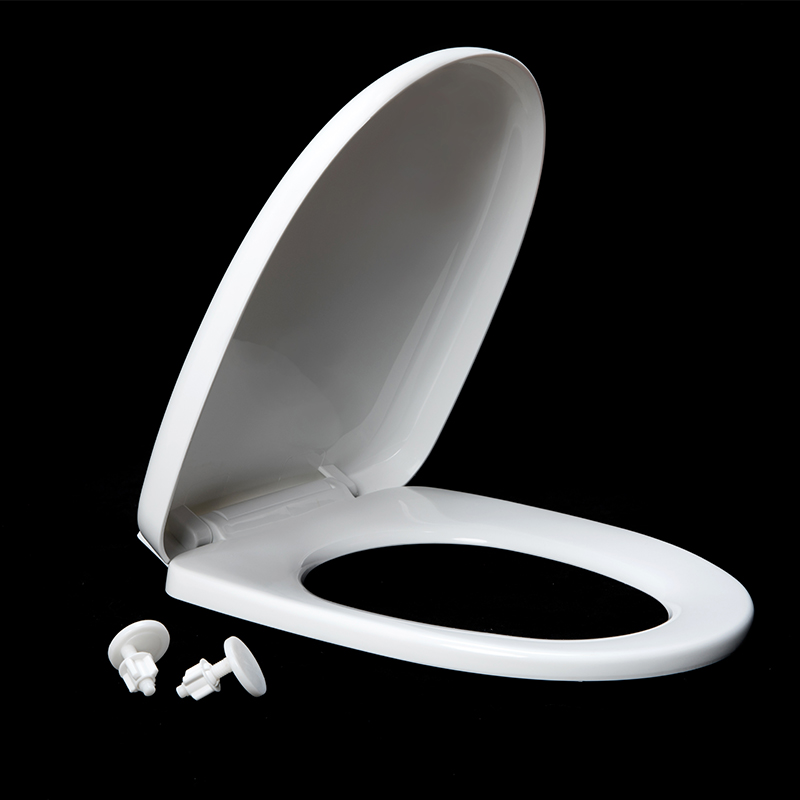
Once you have removed the old seat it’s time to fit the new one. Take the fittings provided with your new loo seat and assemble them ready. You should receive instructions from the manufacturer with a new toilet seat so use these to ensure you’re assembling them correctly.
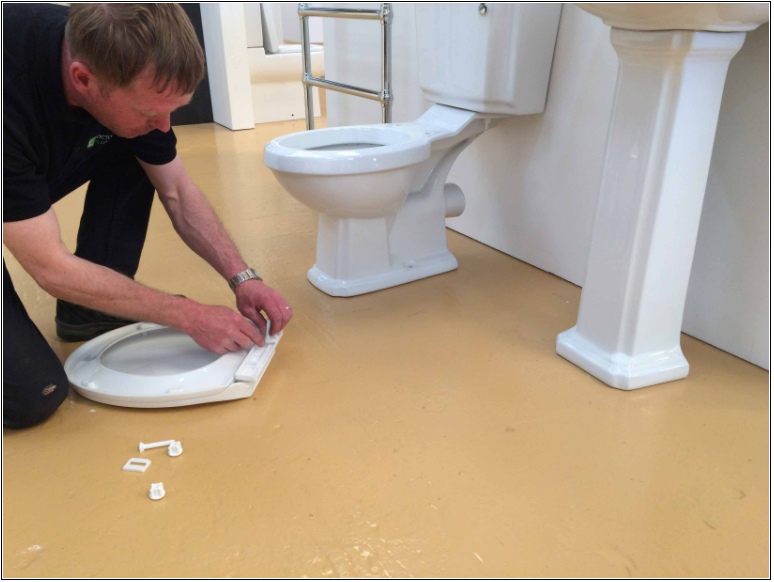
Assembling a new toilet seat is easy but you can always refer to the instructions
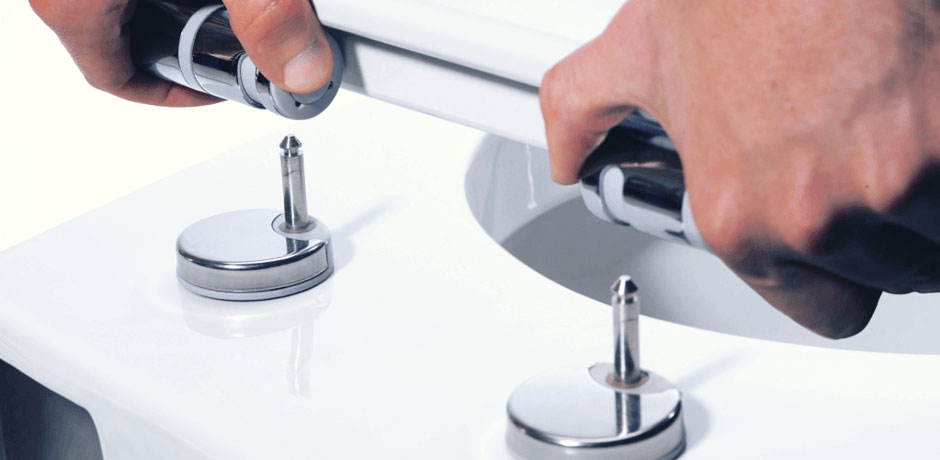
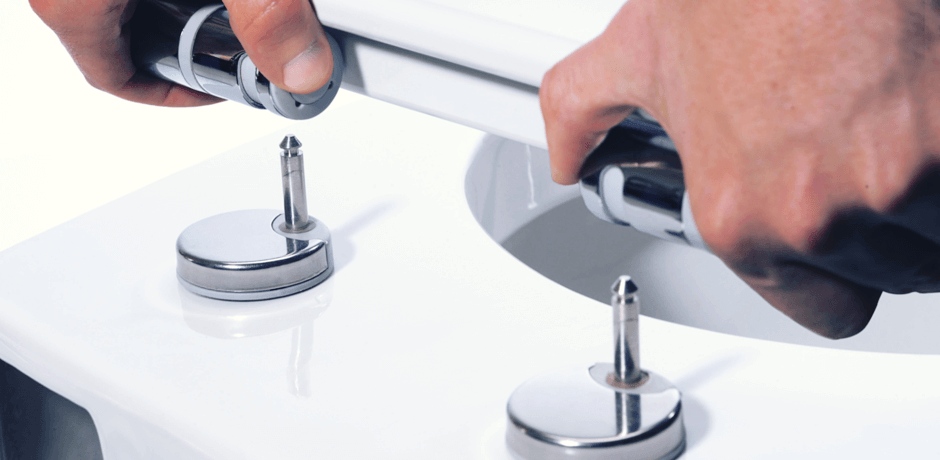
Attach the new fittings, using your hands to tighten up the nuts on the bolts. Be careful not to over tighten them at this stage as you’ll probably want to adjust them once you’ve fitted the new toilet seat.
Now simply place the new seat over your loo and line up the fittings to the back of the toilet seat. Make sure the seat is central to the bowl and then tighten the nuts once you’re happy. You may need pliers or a wrench at this point to help tighten them.
Did you find this guide useful?
Hopefully you found our step-by-step DIY guide useful and replaced your toilet seat with ease but if you do have any questions please let us know in the comments section. If you think a friend may find this guide useful then please feel free to share it via email or social media.