A Comprehensive Guide: How to Install a Bidet Attachment
In recent years, bidets have gained popularity as a sustainable and hygienic alternative to traditional toilet paper. Installing a bidet attachment is a simple and cost-effective way to incorporate this modern convenience into your bathroom routine. With just a few basic tools and some easy-to-follow steps, you can enjoy the benefits of a cleaner and more environmentally friendly bathroom experience. In this guide, we’ll walk you through the process of installing a bidet attachment in your home.
Step 1: Gather Your Supplies
Before you begin the installation process, make sure you have all the necessary supplies on hand. Here’s what you’ll need:
- Bidet attachment kit (including the bidet attachment, hoses, and mounting hardware)
- Adjustable wrench
- Teflon tape
- Screwdriver (if required)
- Towel or rag
- Once you’ve gathered your supplies, you’re ready to start installing your bidet attachment.
Step 2: Turn Off the Water Supply
The first step in any plumbing project is to turn off the water supply to the area where you’ll be working. Locate the shut-off valve behind your toilet and turn it clockwise until it’s fully closed. Flush the toilet to drain any remaining water from the tank and bowl.
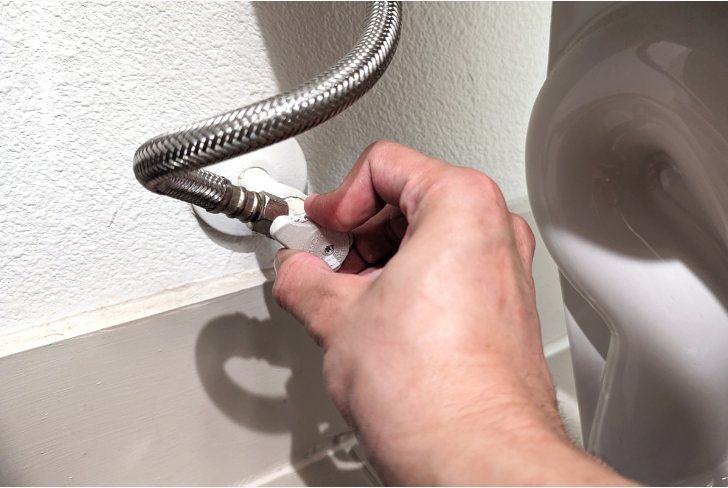
Turn off the toilet water supply
Step 3: Remove the Toilet Seat
To install the bidet attachment, you’ll need to remove the toilet seat. Most toilet seats are attached with two bolts located at the back of the seat. Use a screwdriver or adjustable wrench to loosen and remove these bolts. Once the bolts are removed, lift the toilet seat off the bowl and set it aside.
Step 4: Install the Mounting Bracket
Next, you’ll need to install the mounting bracket for the bidet attachment. The mounting bracket typically attaches to the toilet bowl in the same location as the removed toilet seat. Place the bracket over the mounting holes on the back of the bowl and secure it in place using the provided hardware. Make sure the bracket is centered and level before tightening the screws.
Step 5: Attach the Bidet Hose
With the mounting bracket in place, it’s time to attach the bidet hose. The hose connects the bidet attachment to the water supply valve behind your toilet. Thread one end of the hose onto the T-adapter included in your bidet kit and tighten it using an adjustable wrench. Wrap the threaded end of the T-adapter with Teflon tape to ensure a tight seal.
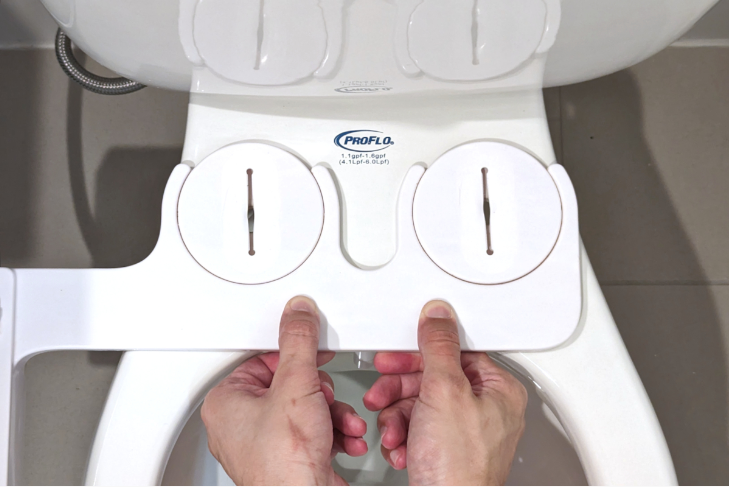
Attach the bidet
Step 6: Connect the Water Supply
Once the hose is attached to the T-adapter, you’ll need to connect the other end to the water supply valve. Thread the hose onto the valve and tighten it with your wrench. Again, use Teflon tape to seal the connection and prevent leaks.
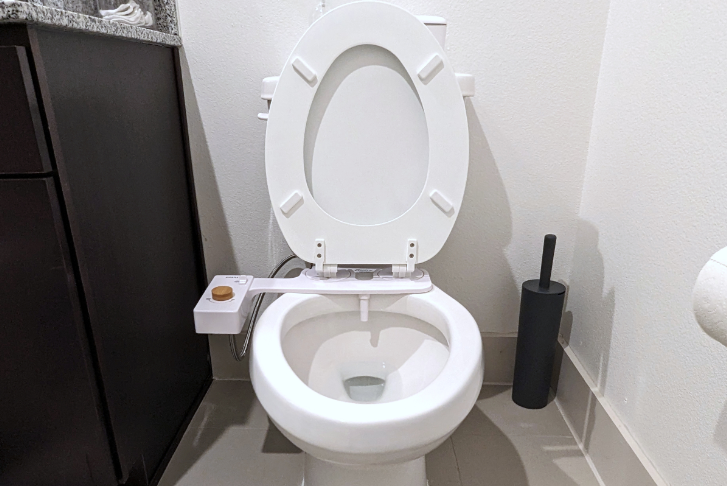
Step 7: Install the Bidet Attachment
Now that the hose is connected, you can attach the bidet attachment to the mounting bracket. Slide the attachment onto the bracket until it clicks into place. Some models may require additional screws to secure the attachment to the bracket, so be sure to follow the manufacturer’s instructions.
Step 8: Turn On the Water Supply
With the bidet attachment securely in place, it’s time to turn the water supply back on. Slowly open the shut-off valve behind your toilet and check for any leaks around the connections. If you notice any leaks, tighten the connections as needed until they’re secure.
Step 9: Test the Bidet
Once the water supply is turned on and there are no leaks, you can test out your new bidet attachment. Sit on the toilet and adjust the settings to your liking, testing the water pressure and temperature if your model includes these features. Take some time to familiarize yourself with the controls and make any necessary adjustments.
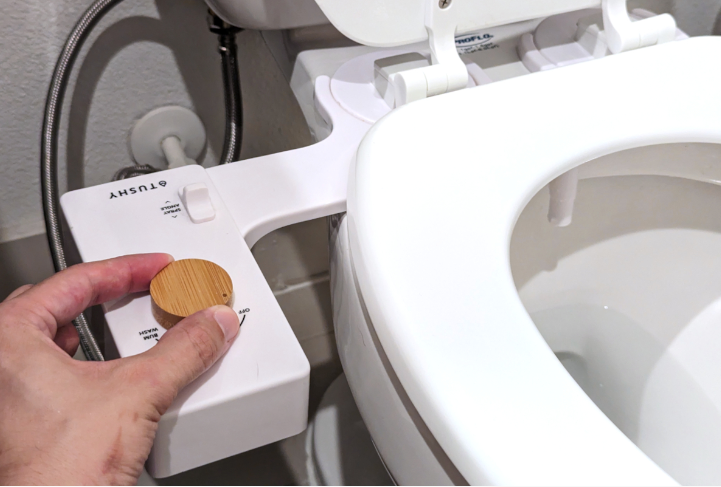
Test the bidet and check for leaks
Congratulations, you’ve successfully installed a bidet attachment in your bathroom! Enjoy the comfort, cleanliness, and eco-friendliness that comes with this modern bathroom upgrade.