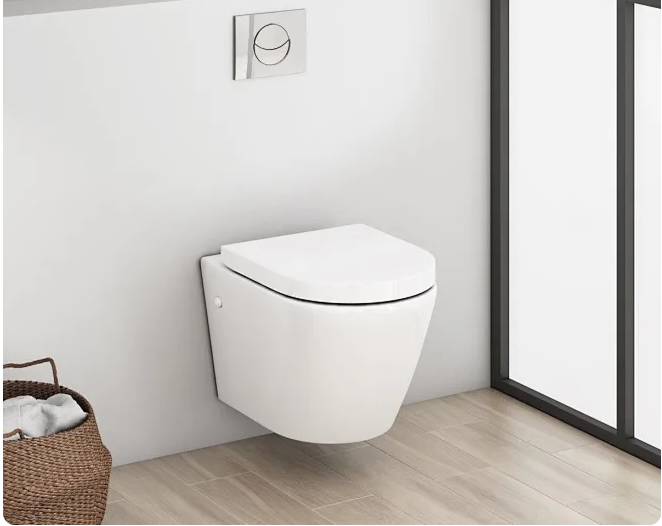
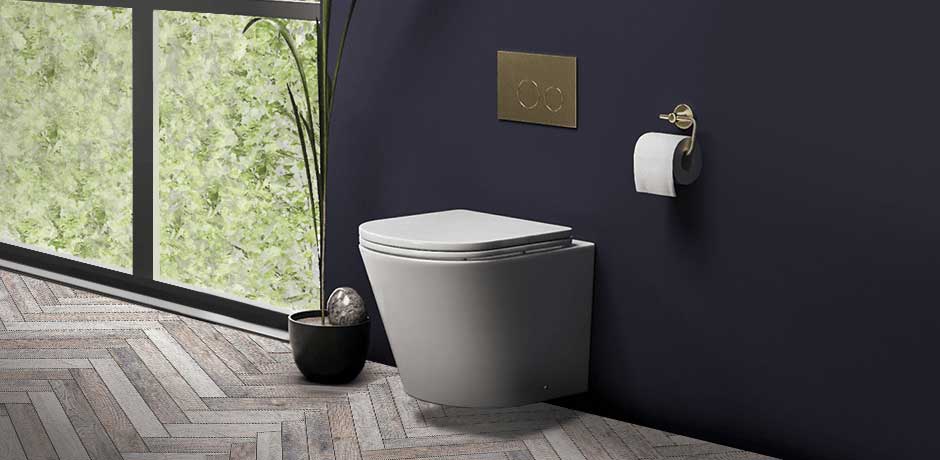
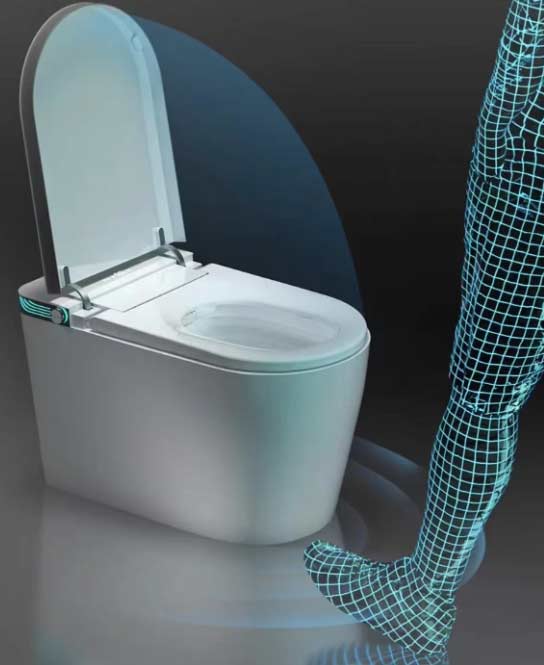
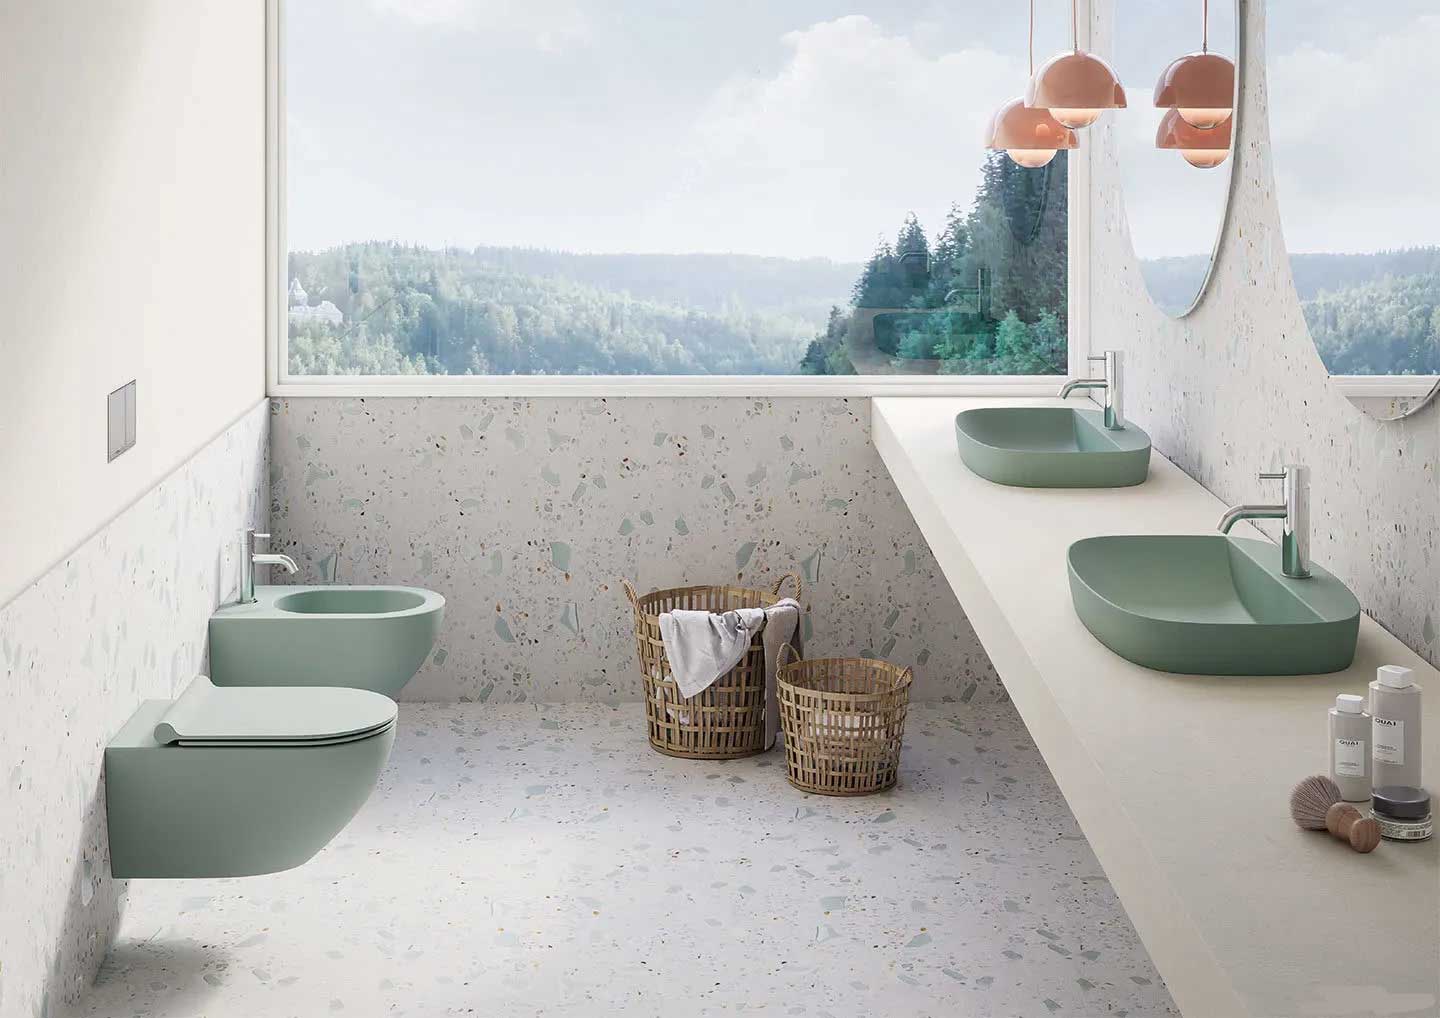
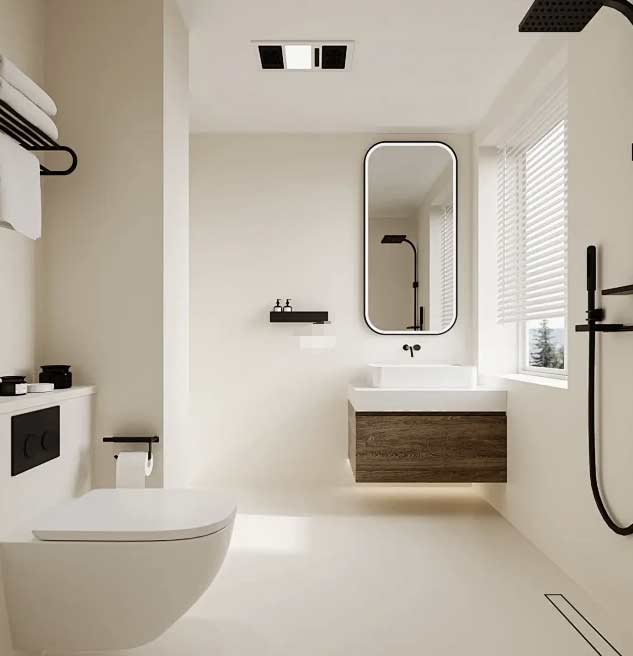
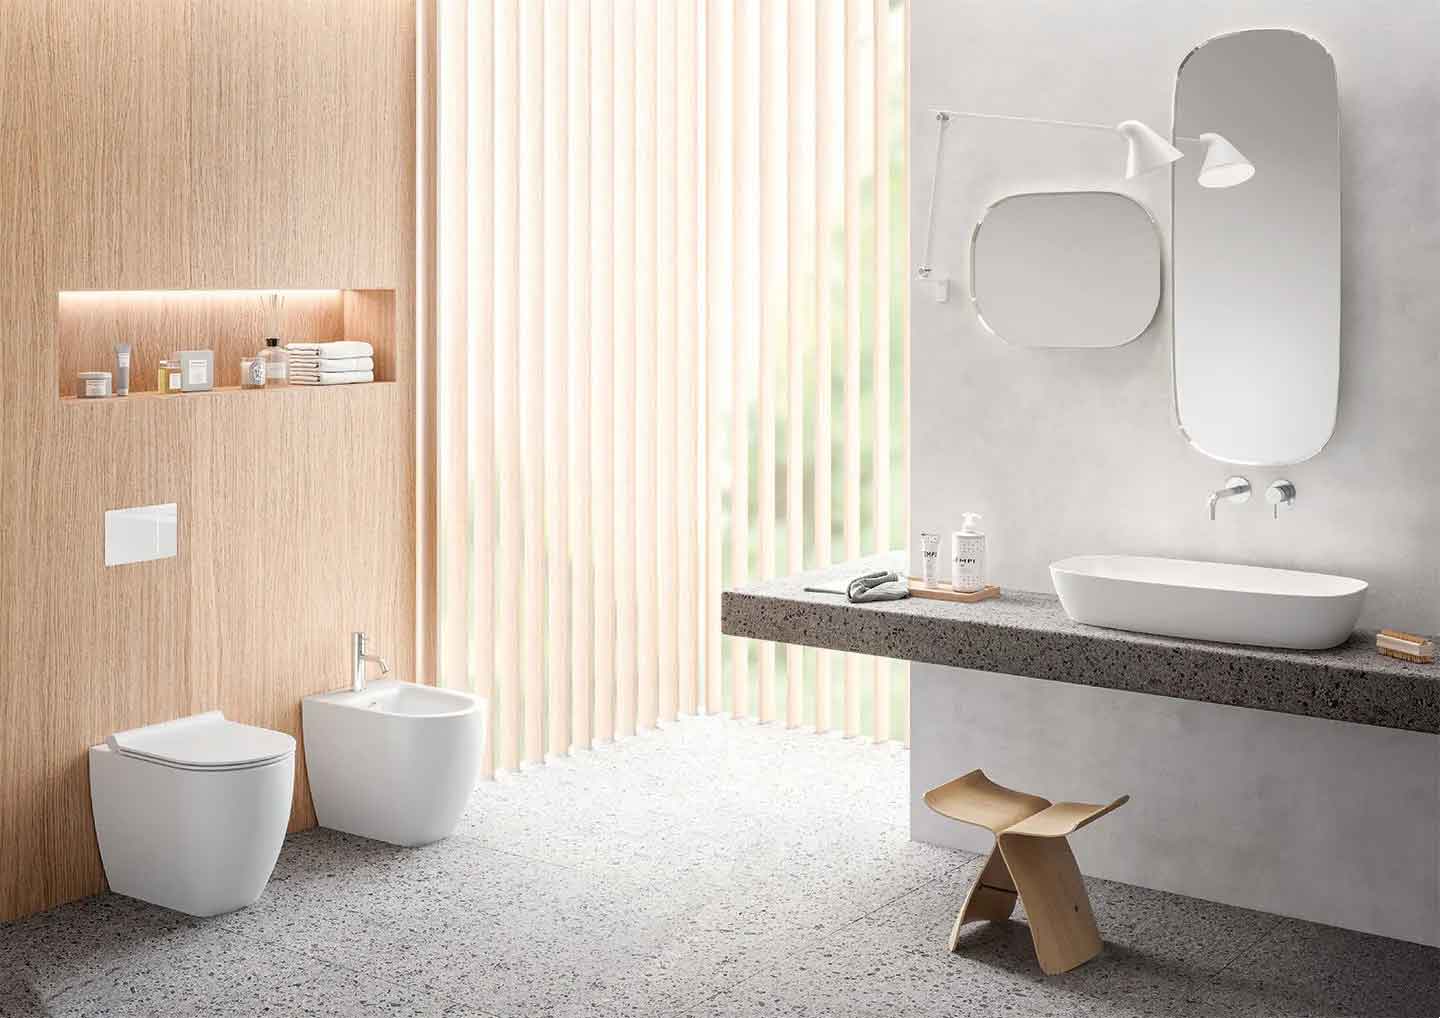
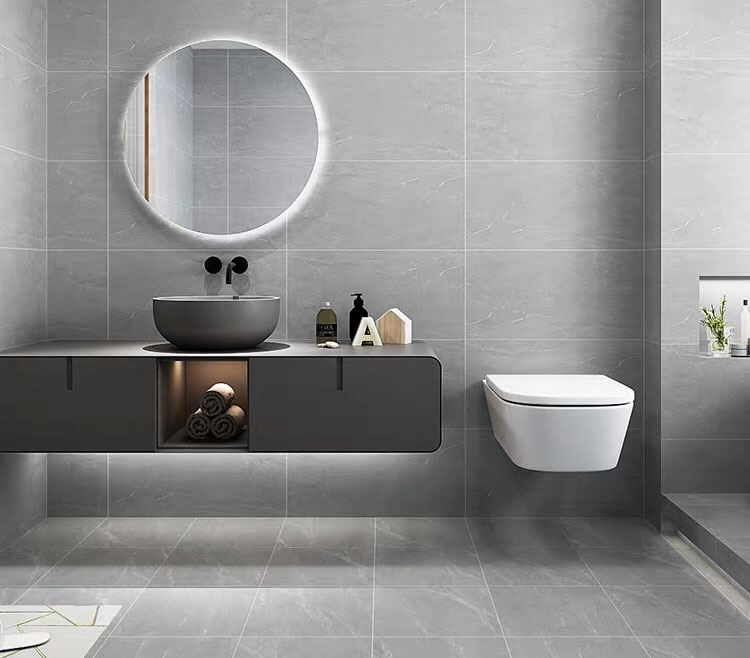
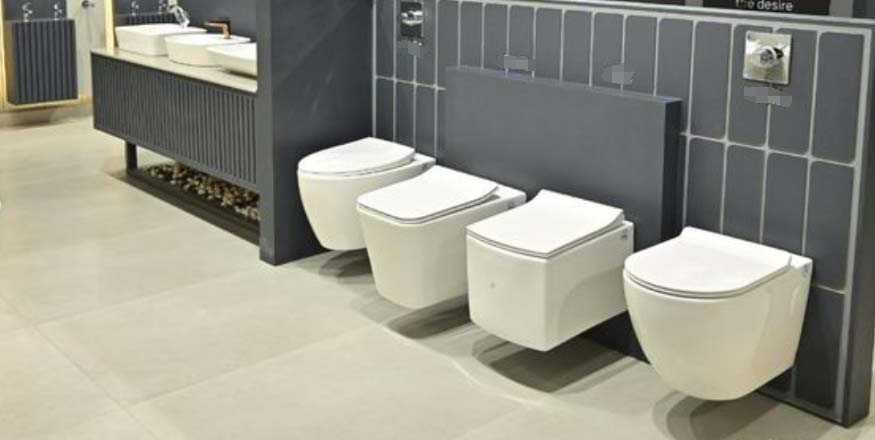
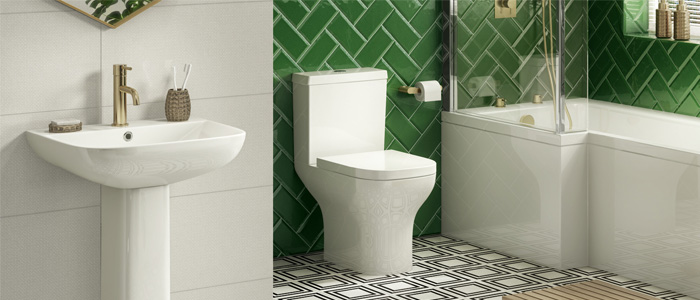
A wall-hung toilet, also known as a wall-mounted or wall hanging toilet, is a great addition to any bathroom. Its sleek design not only saves space but also adds a modern touch. In this article, we will guide you through the step-by-step process of installing a wall-hung toilet.
Wall hanging toilets have unknowingly entered our lives, visually very beautiful, pipes, toilets, water tanks, etc. are hidden in the wall, so that the entire environment becomes more broad, simple and clean. The robot can also clean up stains under the toilet. However, the use of wall hanging toilets has only appeared in some more high-end environments. This is closely related to the installation skills and installation environment of the wall hanging toilet. In particular, the installation of water tanks is more complicated.

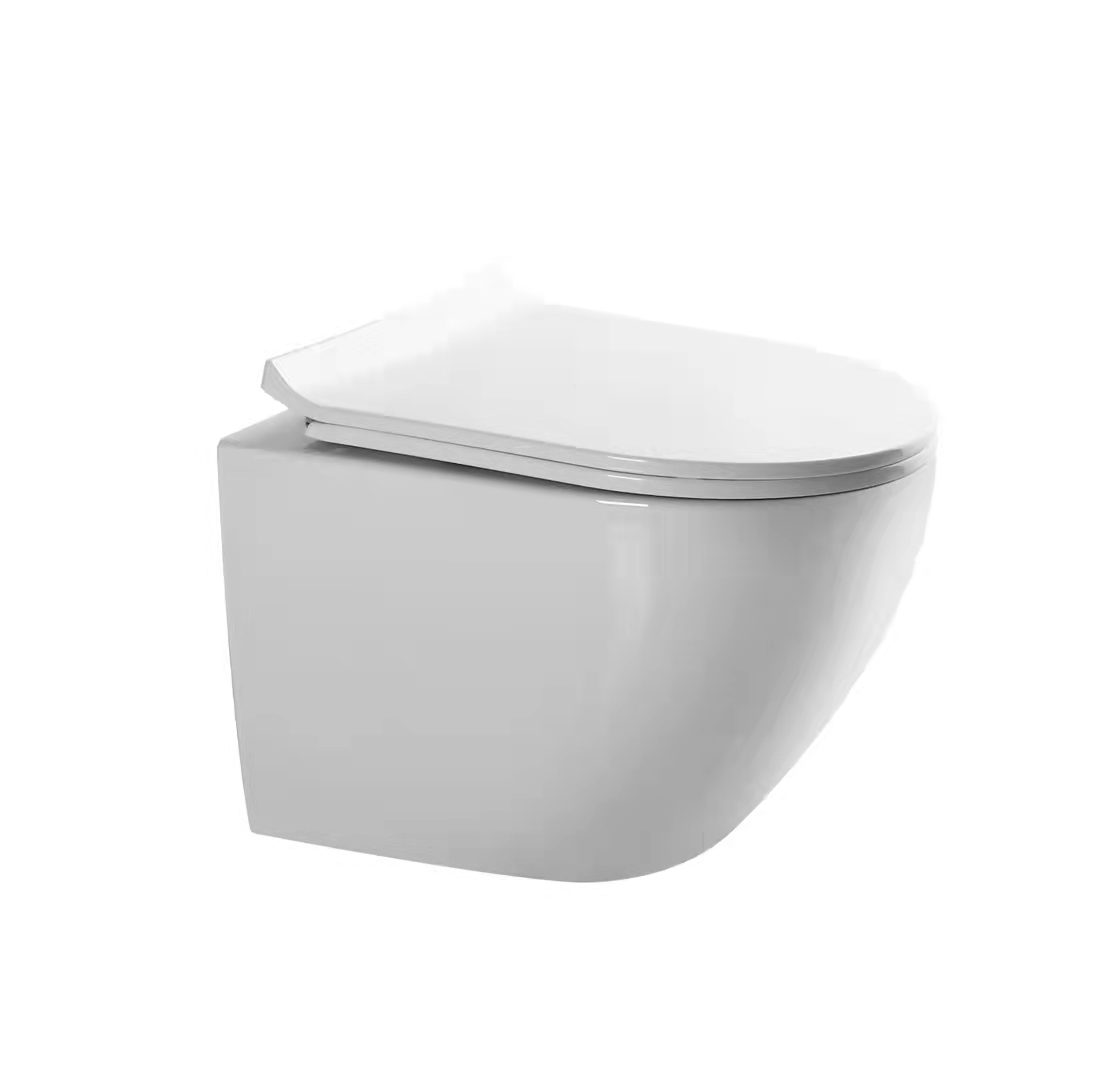
Wall hung toilet from FOHOME
Some people think that the wall hanging toilet tank is hidden in the wall, and the maintenance is difficult: if the toilet tank has leakage, cracking and other problems, the maintenance is really troublesome, and the wall needs to be smashed. However, the hidden water tank is made of high-density polyethylene material, high strength and without any welds, and there is almost no possibility of penetration without being damaged by strong external forces. Remind friends who want to install a wall hanging toilet, be sure to choose a trusted brand, and the quality is guaranteed.

Hidden toilet tank
Tools and Materials
Before getting started, gather the necessary tools and materials. You will need:
- Wall-hung toilet kit (which usually includes a bowl, carrier frame, and flush plate)
- Measuring tape
- Level
- Drill
- Concrete screws or bolts (specific to your wall type)
- Screwdriver
- Adjustable wrench
- Silicone sealant
- Water supply line
- Toilet seat and lid (if not included in the kit)
Step 1: Preparation
Start by turning off the water supply and removing the existing toilet. Measure the height and width of the wall to determine the appropriate position for your new wall-hung toilet. Use a level to ensure the measured space is perfectly horizontal. Mark the positions for the carrier frame and seat attachment with a pencil.
Step 2: Install the Carrier Frame
Mount the carrier frame onto the wall using the appropriate fasteners for your wall type. Make sure it is securely attached and level. The carrier frame will support the toilet bowl and flush tank. Follow the manufacturer’s instructions for the specific installation process, as it may vary depending on the brand.
Step 3: Connect the Water Supply
Attach the water supply line to the designated connection port on the carrier frame. Use an adjustable wrench to tighten the connection, ensuring it is snug but not over-tightened. Turn on the water supply briefly to check for any leaks. If there are no issues, turn the water supply off again.
Step 4: Mounting the Toilet Bowl
Attach the toilet bowl to the carrier frame using the provided hardware. Carefully lift the bowl and align it with the seat attachment points marked earlier. Ensure that the bowl is level and at the desired height. Securely fasten the bowl to the carrier frame according to the manufacturer’s instructions. Use a level to check for proper alignment.
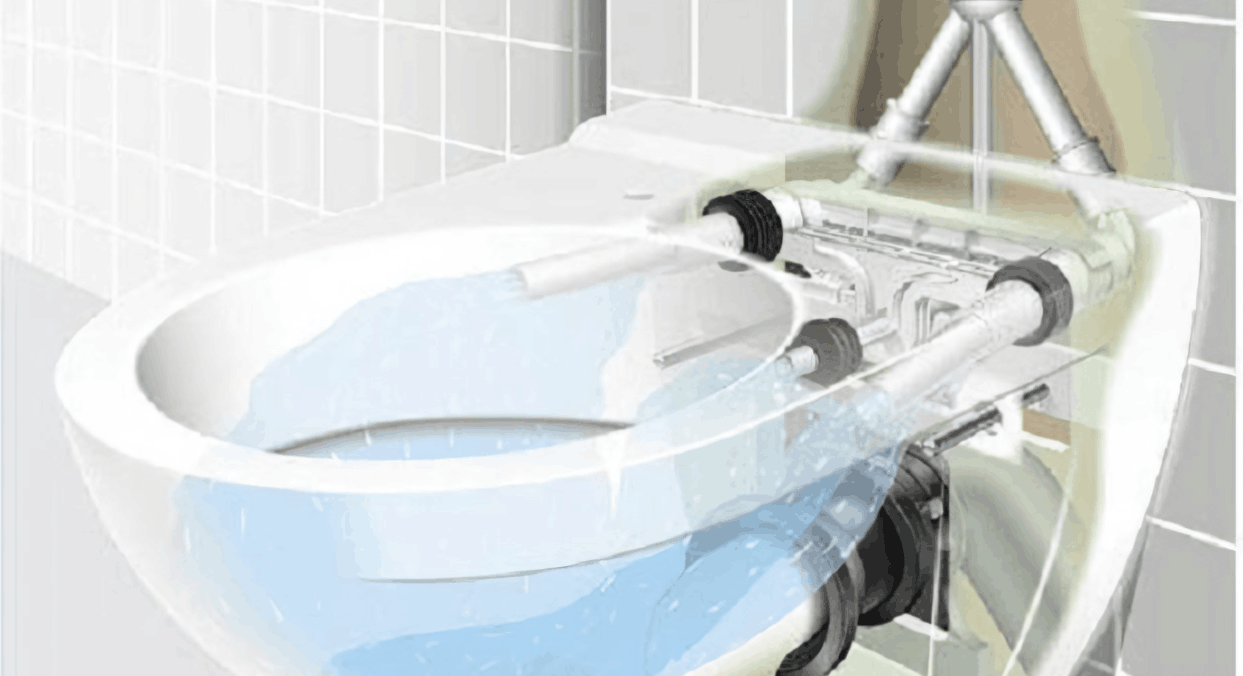
Structure of wall hung toilet
Step 5: Install the Flush Plate
Mount the flush plate on the wall at a comfortable height and within reach. This plate will activate the flushing mechanism. Follow the included instructions for proper installation. Make sure the flush plate is securely attached and aligned with the frame.
Step 6: Finishing Touch
Apply silicone sealant around the base of the toilet bowl to create a watertight seal. This step prevents any water leakage. Install the toilet seat and lid according to the manufacturer’s instructions.
Installing a wall-hung toilet may seem daunting but following a systematic approach makes it easier. With the right tools and materials, as well as careful attention to the manufacturer’s instructions, you can have a stylish and practical addition to your bathroom. Enjoy the benefits of a wall-hung toilet for years to come.

